How to download, install, and use Sleek Bill Free Billing Software for India ?
Sleek Bill for India is a free invoicing and billing tool built for Indian businesses of any size, with GST-compliant invoices handled automatically. It’s straightforward to use. You can create new invoices or edit existing records without much of a learning curve, and the free version costs nothing to download and use.
Downloading and Installing
Download the installer from the official Sleek Bill site: Install_SleekBill_India.exe
Once it’s downloaded, double-click the installer file to launch it. On the setup window, click Next. On the license agreement screen, click I Agree. And on the “Choose Install Location” screen, click Install. When setup finishes, click Finish.
Updating Sleek Bill
There’s no in-app update button; if you’re running an older version, you’ll need to download the current installer separately. Installing it replaces the old files and brings everything up to date.
Upgrading to Premium
To move from the free version to Premium, click Get Premium Features in the top-right corner of the program. In the window that opens, select I go Premium and get the best of Sleek Bill under Premium License, enter your license key in the text box, and save. If you don’t have a key yet, there’s a link to purchase one right there.
First Launch
The first time you open Sleek Bill, you’ll see a white welcome screen with three buttons: Test (try the software with sample data), Continue (start using it with your own company’s data), and Restore (bring back your data from a previous backup, if you’re an existing user setting up on a new machine).
If you click Test, an info window opens. Click OK to close it, and a tips window will follow. Click Next Tip to page through it, and Close when you’re done. A few tips worth calling out:
- You can add all your data directly from the new-document form as you go, or import starter data for your Clients and Products lists using the sample Excel files provided.
- Stock tracking can be turned on or off from Settings > Preferences.
- With that same preference enabled, you can add and edit current stock levels for each item in your Products/Services list, and the program adjusts them automatically as you invoice.
- You can customize the labels that appear on your printed documents from Settings > Document Preferences, for example, showing “Services” instead of “Products,” “Rate” instead of “Unit Price,” or “Quote” instead of “Estimate.”
Finding Your Way Around
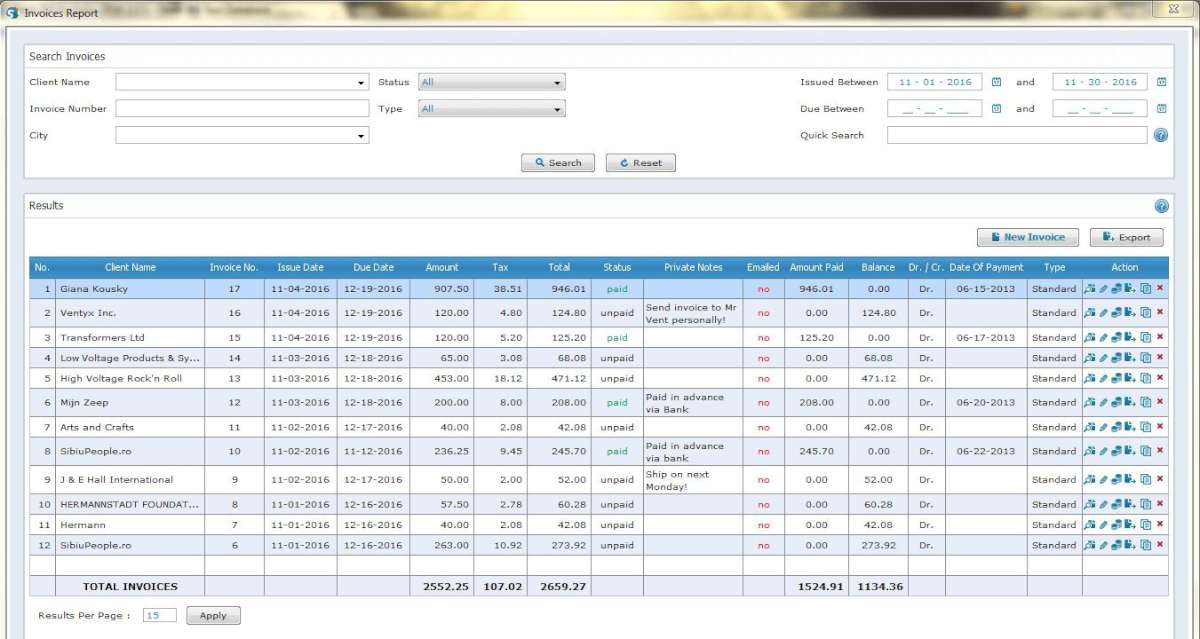
Sleek Bill’s main window has a few key links. Invoices shows every invoice you’ve saved, and you can edit any of them from there. Estimates takes you to your saved quotes. Clients opens the window where all your customer records live, and you can update their invoice details from there too. Products/Services opens a window for managing your product catalog; you can add services here as well.
Backing Up and Restoring Your Data
You can back up your data from the Tools menu. Click Backup Data, then Backup in the window that opens, choose where to save the file, and click OK to save a .sbf file containing everything needed to restore your records later.
To restore from a backup, click Restore Data, select your saved backup file, and click Restore. This only works outside of Test mode, so make sure you’re in the regular program mode first.
Settings
Company Details is where you save your business name, contact information, and logo. Taxes lets you set your tax rates, including GST or income tax. Email helps you configure sending invoices by email. And Preferences covers a few general settings:
General Preferences
- Auto-save a PDF backup to the reports folder. When checked, every document you create is also saved as a PDF in
C:\Sleek Bill\reports. - Use password protection. Set a password to keep your business data secure.
- Track stock and add current inventory to products. When checked, you can log stock levels per item; the quantity drops automatically each time you invoice that product.
- Ask what to do with newly added products. When checked, you’re prompted for next steps each time you add a new product.
- Automatically save new products to the database. When checked, every new product you add is saved straight to the database.
- Show tips on startup. When checked, the program shows feature tips each time it opens.
Document Preferences
- Show both shipping and billing address. When checked, the shipping address appears on your documents even if it matches the billing address.
- Include tax in the Amount column. When checked, the Amount column on your documents shows totals with tax included.
Uninstalling Sleek Bill
Open Add or Remove Programs, right-click the Sleek Bill icon, and select Remove. Click Yes on the confirmation prompt, choose an option on the final screen, and click OK. Sleek Bill is now uninstalled.