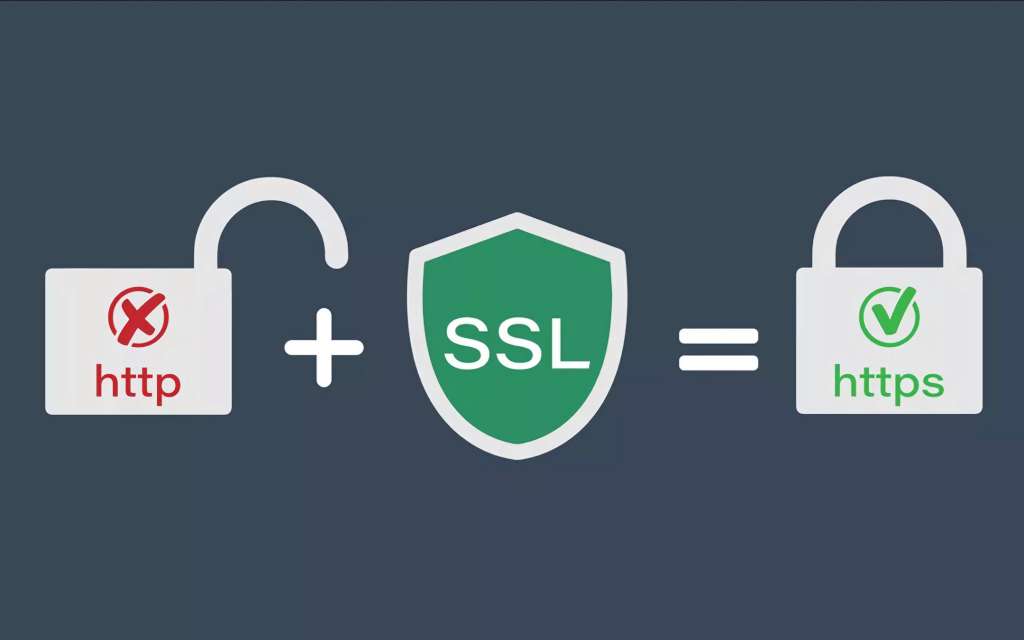
How to Seamlessly Migrate from HTTP to HTTPS (With/WWW) Using the All-In-One Redirection Plugin.
I’ve outlined how to implement SSL redirection on your website using the All-In-One Redirection plugin for a smooth HTTP-to-HTTPS transition—whether you use WWW or not. Let’s dive in. As mentioned, the plugin’s name is All-In-One Redirection, and I personally use it on my site. You might remember when websites used HTTP; today, HTTPS is the standard. But why?
Here’s the deal: HTTPS isn’t optional anymore—it’s mandatory for all websites. HTTP simply doesn’t cut it for protecting visitors’ personal data. This became especially critical after Europe’s GDPR cookie consent requirements spread to the U.S., Canada, and beyond, making data security a legal obligation.
If your site still uses HTTP in its URLs, switch to HTTPS ASAP. But proceed carefully: A botched migration can tank your search engine rankings and even get your content flagged as duplicate. How do you avoid server-related pitfalls during this transition? That’s where this guide comes in.

Step 1: Install the Plugin
Start by installing the All-In-One Redirection plugin via your WordPress dashboard. Next, contact your hosting provider to request SSL certificate installation—this is a paid service they’ll handle for you. Skip this step if you already have SSL. Once set up, you’re ready to enforce HTTPS.
Step 2: Update WordPress URLs
Head to your WordPress Dashboard > Settings > General. In the WordPress Address (URL) and Site Address (URL) fields, add an “S” to the end of “HTTP” (making it HTTPS). Save changes. After this, your site might be temporarily inaccessible (up to 1 hour) due to DNS propagation. Don’t panic—your site remains live for new visitors. If issues persist, contact your hosting support.

Why Cheap Hosting Often Causes Headaches?
These hiccups are common with budget hosting providers (I’ll avoid naming names). If you’re using a premium provider like HostGator, you’ll rarely face such issues. Let’s move on.
Wait—You’re Not Done Yet!
Even after switching to HTTPS, your site likely still loads via HTTP if users manually type it. We need to force all traffic to HTTPS. Unfortunately, WordPress doesn’t do this automatically—that’s why we installed the plugin.
Step 3: Configure the Plugin
In your Dashboard, you’ll find a Redirection button above the Appearance menu. Click it to access four key settings tabs:
1 – Redirection
This tab handles 404 errors. To set up a redirect:
- Select 301 Redirect (default).
- Enter the broken URL under Source URL.
- Add the new URL under Destination URL.
- Leave Regular Expression blank.
- Click Add Redirection.
2 – Redirection Settings
This is where the magic happens:
- Enable Host and WWW Settings.
- Under Host Setting, choose HTTPS.
- For WWW Settings, pick WWW if your domain includes it (e.g., www.yoursite.com) or Non-WWW if not.
3 – 404 Pages List
This shows all broken links on your site. Fix them by adding 301 Redirects via the + icon in the Action column.
4 – Tools
Back up your redirect rules or restore previous settings here.
Why This Plugin Beats the Competition
Once configured, All-In-One Redirection ensures every HTTP request redirects to HTTPS. It even auto-fixes WWW/Non-WWW mismatches. Despite being underrated compared to giants like Really Simple SSL, this plugin solves problems others can’t. Got questions? Drop a comment below—I’m here to help!
