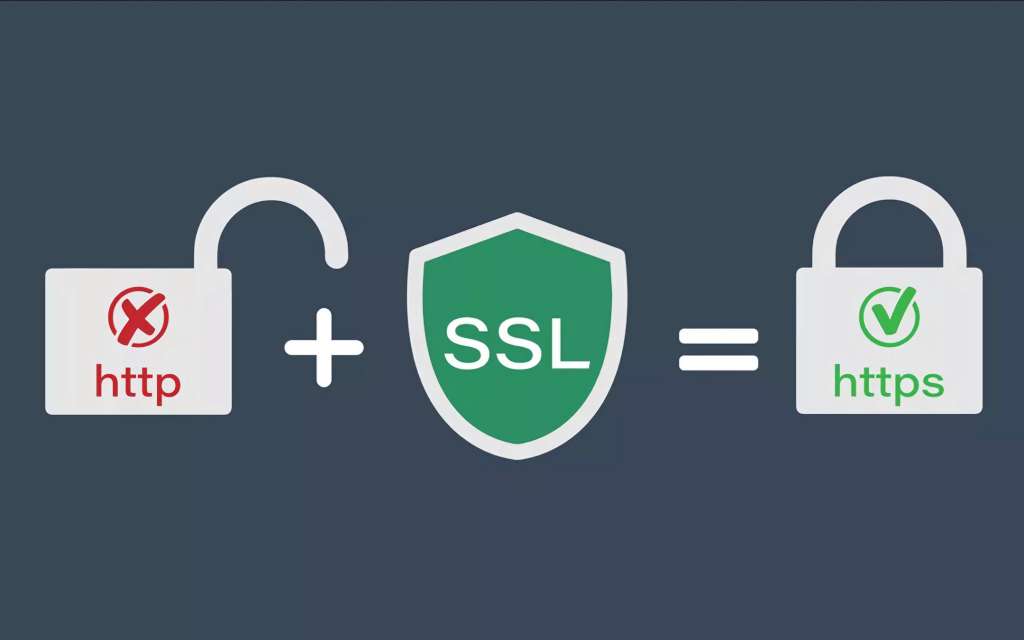
I explained the way to use All-In-One Redirection plugin which do SSL redirection on the website for smooth transition from http to https with or without www. Note carefully. I told you already the name of the plugin is All-In-One Redirection. I also use this plugin on my site. Everyone knows that the addresses of the web used to be http, and now it’s https. “What is that for?”
Note: All websites should be HTTPS. Because there are not enough sites using this security protocol to protect the personal data of our visitors. Basically the protection of personal data has become a necessity, mainly due to the introduction of cookie policy reminder blocks (which first appeared in Europe and then spread to the USA, Canada and other countries).
This means that any website that still has an HTTP URL, needs to switch to HTTPS now. But there are some important things we need to be aware of when doing this. Because if we do this transition wrong all our pages listed in search engines will lose their rankings and can be considered as duplicate content. So what do we do to transition, and what are the possible challenges that we might face from servers? And the most important part of my article is this.
Install the plugin from the WordPress panel and enable it. Then get your hosting provider to install an SSL so you can switch the HTTP connections to HTTPS. SSL installation is paid and it is done by hosting officials. If you already have an SSL certificate, skip this step. The installation is finished. You have the required support to convert HTTP connections to HTTPS.
Then go to the admin panel and go to the “Settings > General” tab. Add a “S” at the end of the HTTP words in “WordPress Address (URL)” and “Site Address” boxes and save the settings. This will convert all connections from http to https, if you perform this step, your site might be unavailable for a short period (about 1 hour). No problem! That is because your DNS records have not propagated yet. Your site may not open on your computer but is still accessible to new visitors. Then you have to wait a little. If it still doesn’t open call your hosting company and explain the situation and they will solve the issue quickly.
WordPress Simple SSL Redirection
Such interruptions happen with hosting companies from the continent of Asia. I don’t want to advertise, but if you have a good hosting provider like HostGator, you will surely not have any problems. I’ll be brief.
If you’ve switched your site’s HTTP settings to HTTPS and it’s working, take care: Our job is not done. So why not?
Type your site’s URL as either HTTP or HTTPS into your web browser, and you’ll see your pages either way. But we don’t want this to be the case. The goal is to redirect a starting HTTP URL to its HTTPS address. In this way we block all HTTP entries for us. This means that we guarantee our users a 100% secure experience on the web. Unfortunately this is not automatically done by the wordpress panel. That’s the whole point of installing this plugin, you see. So let’s open the settings of the plugin and fix the problem.
Added a “Redirect” button above the “Appearance” tab in Admin page menu. Hit this button to get into the settings. The plugin has four tabs of settings. Let us see what we can do, one by one.
All-in-One Redirection plugin settings
Routing
This tab allows you to redirect the pages that return 404 error. For the redirection, choose “301” from the “Redirection Type” box (it is selected by default). In the “Source URL” section enter the old non-working URL that you want to redirect from. In the box labeled Destination URL type in the new URL the page that will load after the redirect. You can leave the Regular Expression box blank. After setting all options, complete the process by clicking on the Add Redirection button.
Routing Setups
Here you set the general settings of this plugin. Turn on Host and WWW Settings. This will switch on the settings. The plugin will be updated to your current settings but it is still important to check them. Select HTTPS in the Host Setting section. In the WWW Settings section, if you have a www in your domain, choose “WWW”, otherwise choose “Non-WWW”. So all of these are the settings for this part.
404 pages list
This tab will display a list of 404 pages missing or deleted from your site. Here’s a list of all the broken links on your website. Broken URLs in the list can be fixed with a “301 Redirect”. To do this click the plus sign in the “Action” column, type the new URL and press the “OK” button. As you work through the redirects, the error list will slowly get smaller. The last tab has different tools.
Tools
Here you can backup your plugin settings and redirection lists. Here you can also restore data that was backed up. These are the settings and .
After you configure everything for the All-In-One Redirection plugin, your site will redirect to HTTPS even if you try to access it with HTTP. Also, there is an automatic correction option when you set the www or non-www setting according to your preference. Despite having few users in WordPress, this plugin is very useful. And popular plugins like Really Simple SSL can’t do anything about it. But this simple tool is great solution. If you have any questions about the plugin, please contact me. You can ask your question in the comments section.